Supported Products
How It Works
Windows Deployment Tool runs directly on you target device. If you want to create a master image, please ensure that you have run Sysprep first. After that, boot from the Elbacom Embedded Toolkit.
Getting Started
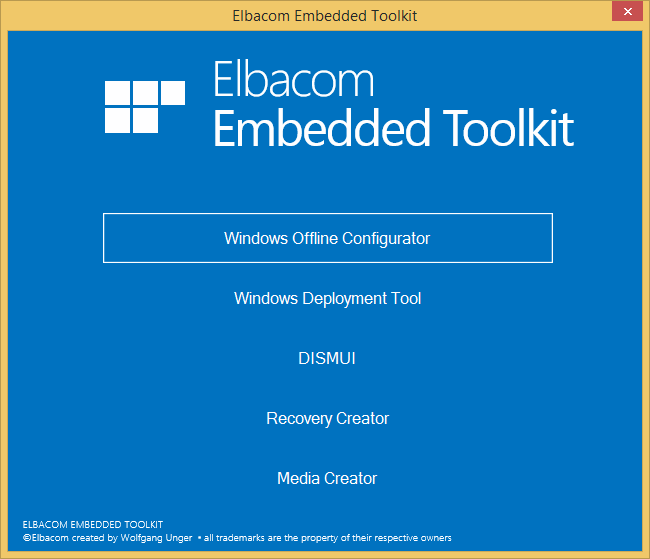
Launch the Windows Deployment Tool from the Elbacom Embedded Toolkit Launcher.
Creating a master image
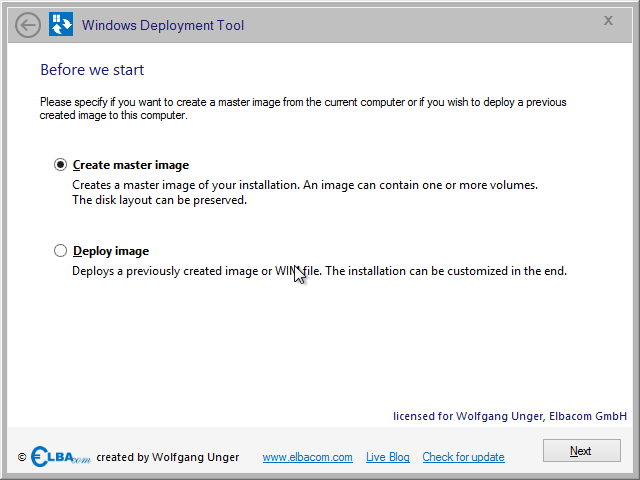
To create a master image, select “Create master image” and click “Next”.
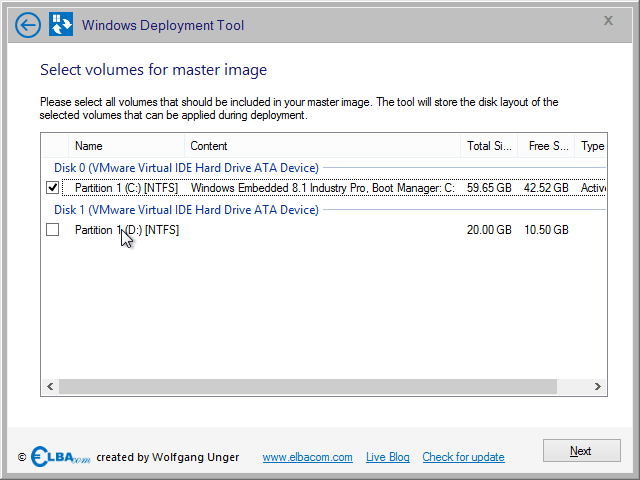
Windows Deployment Tool will enumarate all volumes and will list the content of it. It will recognize Windows installations and boot managers.
Please select all volumes that should be integrated in you image.
Please note, that you should always include the boot manager for the Windows volume!
After selecting all volumes, click “Next”.
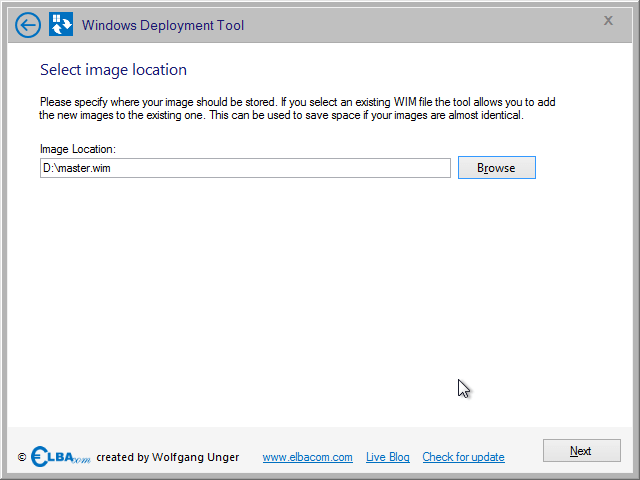
Specify the path for your image. You can select an already existing WIM file. In this case the tool will append the new image to the existing file.
The benefit of using one file multiple times is, that the WIM file format only stores identical files once. Therefore, if you store different configurations of, e.g. Windows Embedded 8.1 Industry Pro in the same WIM file, then it will store the OS only once and additionally the differences. This will save a lot of disk space!
Click “Next”, after specifying the file name.
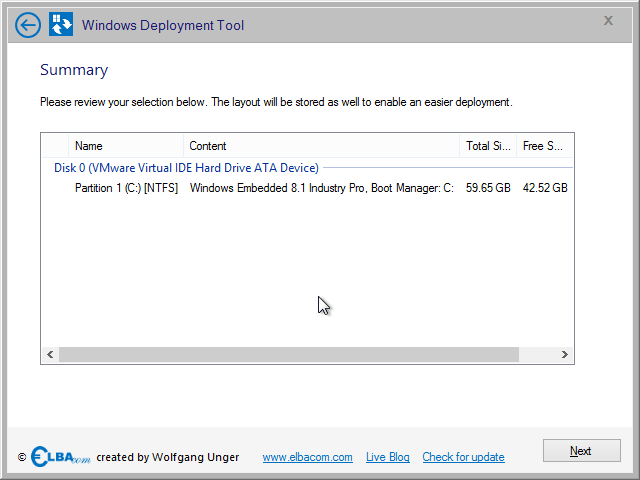
Check your settings in the summary and click “Next”.
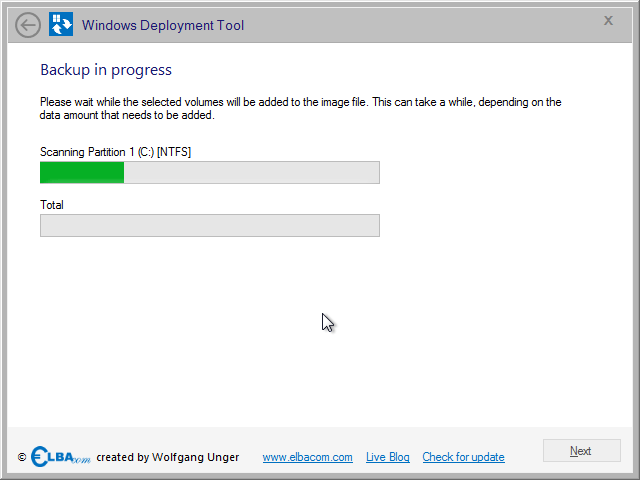
Windows Deployment Tool will now create the image.
The tool will also store the disk layout in the WIM file. This way the disk layout can be restored identically on a new machine by using Windows Deploment Tool!
Once this is done it will notify you, if the process completed successfully.
Deploying an image
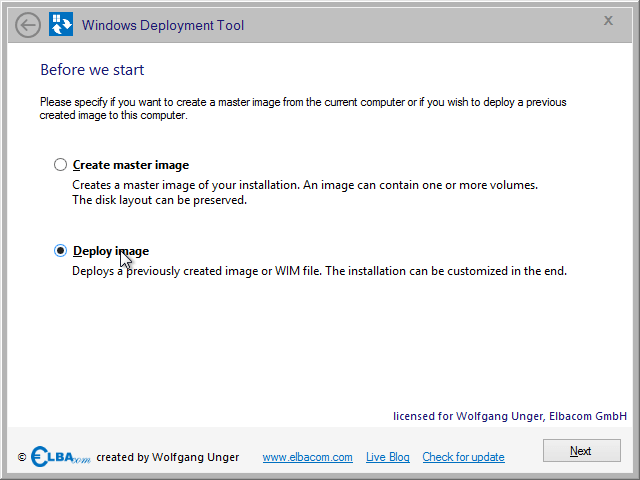
To deploy an image to a new hardware, select “Deploy image” and click “Next”.
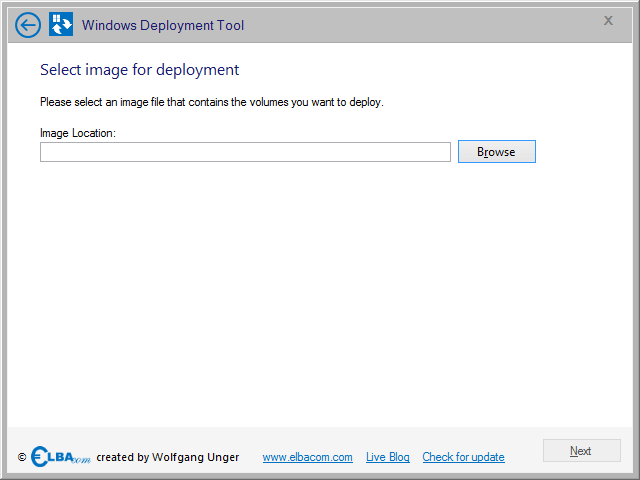
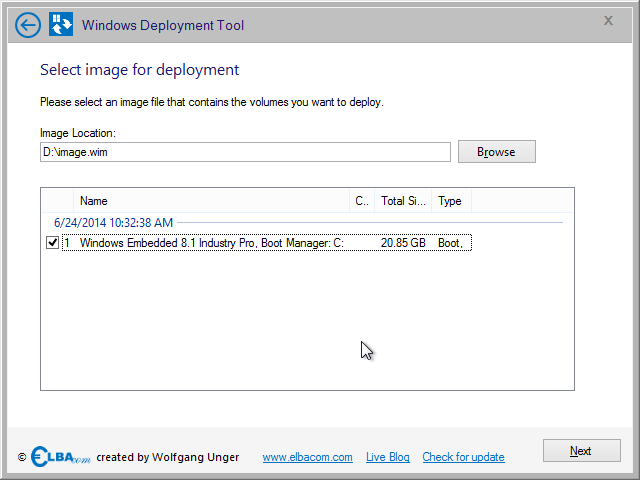
Select the image file you want to deploy.
Select the images within the image file, that you want to deploy.
If the image has been created by using Windows Deployment Tool, then the images will be grouped automatically by the date and time they were captured.
Click “Next” after you have selected all images.
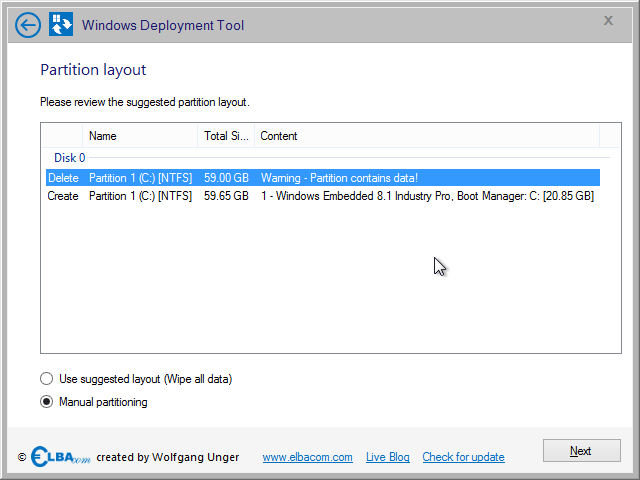
If the image was created by Windows Deployment Tool, it also contains the disk layout. The tool will try to recreate the original layout.
It will show you what will be done to recreate the original layout.
You can use the suggestion by selecting “Use suggested layout (Wipe all data)” and by clicking “Next”.
Please note, that all data will be erased!
If you would like to manually partition your disks, then select “Manual partitioning” and click “Next”.
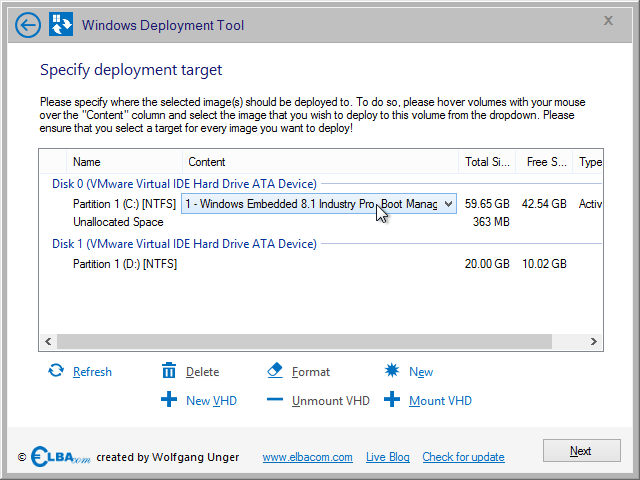
If you chose “Manual partitioning”, you will get all options to create, delete and modify partitions.
Just create the desired layout and select where the image should be applied to.
To select the target volume for an image, hover over the “Content” column with your mouse.
Select the image from the appearing dropdown.
After you have assigned each image to a volume, click “Next”.
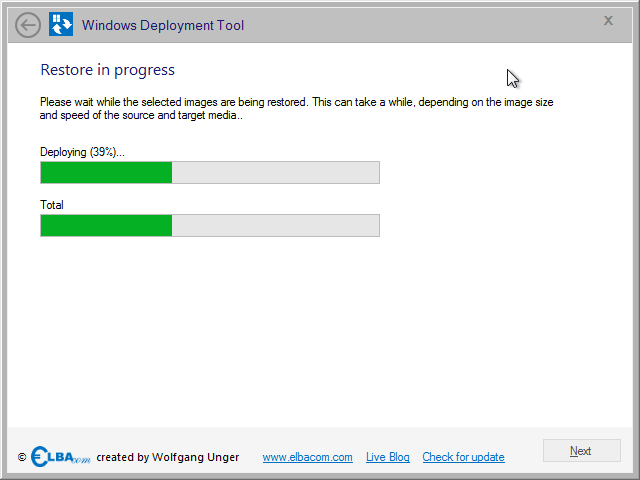
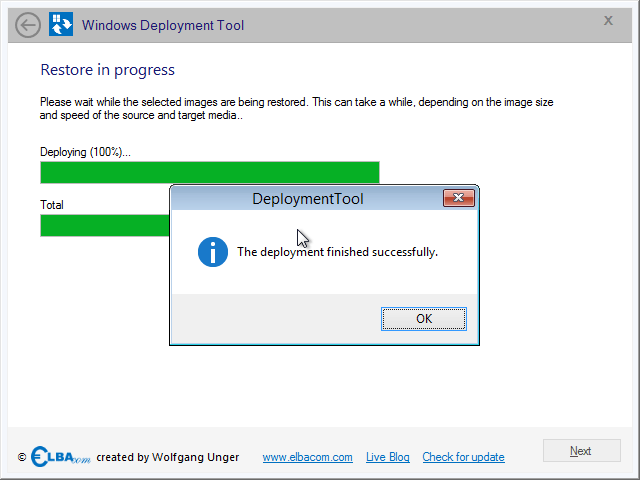
Windows Deployment Tool will now restore the image to the target system.
It will also rewrite the boot manager in case the image doesn’t contain one.
After the deployment is done, you will receive a notfication if everything was successful.
You can now reboot and boot into your deployed version of Windows.


